
Introduction
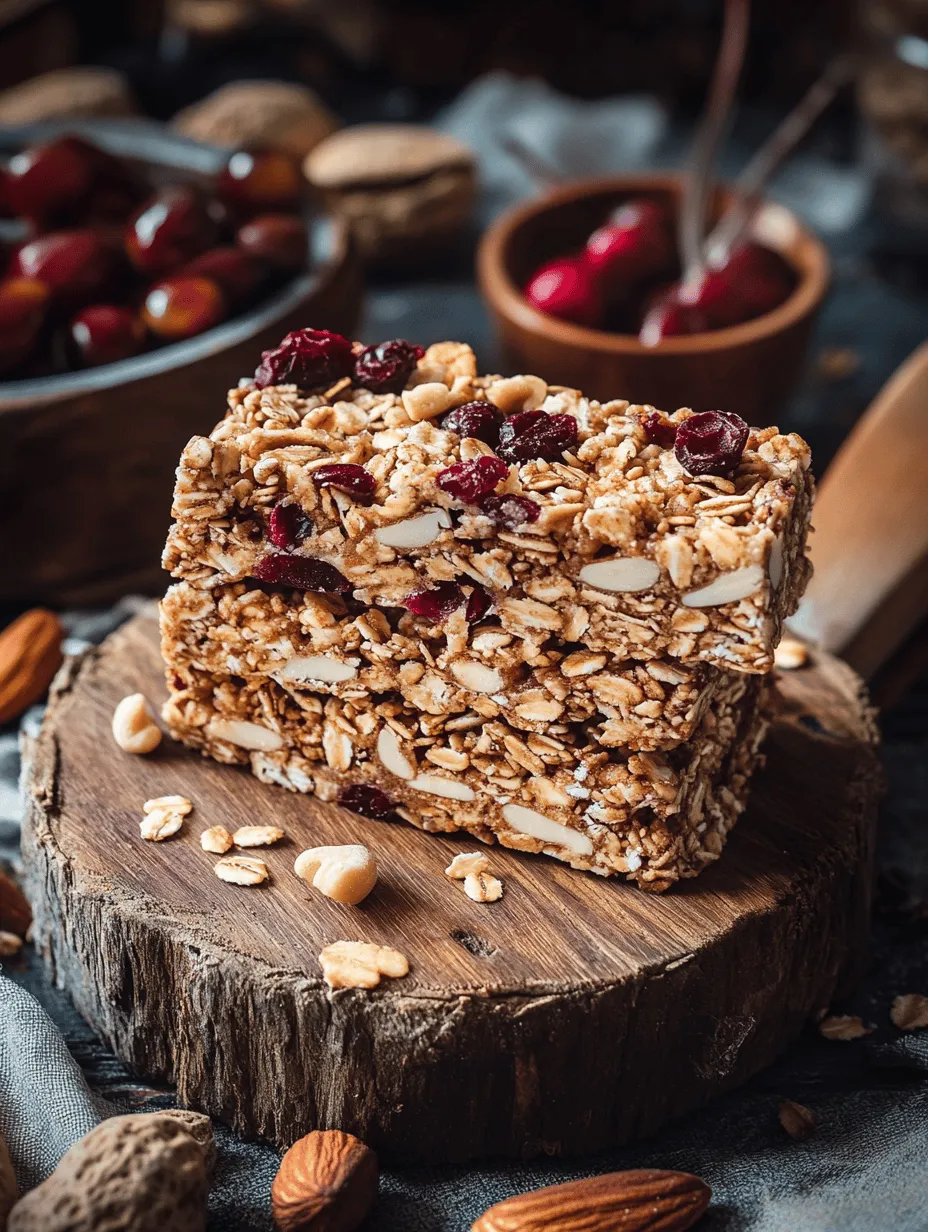
Granola bars have become a staple snack for health-conscious individuals and busy families alike. Their convenience, portability, and the perception of being a healthy option make them a popular choice for breakfast or a midday snack. In recent years, there’s been a surge in homemade granola bars, as people seek to control the ingredients and reduce added sugars found in many store-bought varieties. Today, we’re excited to share a quick and easy recipe for Easiest Microwave Chewy Peanut Butter Granola Bars that can be prepared in just a few minutes using the microwave.
This recipe is perfect for those who are short on time but still want to enjoy a delicious and nutritious homemade snack. With just a handful of ingredients and a few simple steps, you can whip up these chewy granola bars to keep your energy levels up throughout the day. The combination of peanut butter and oats not only brings great flavor but also provides a wealth of nutritional benefits, making this recipe a win-win for both taste and health.
Understanding the Ingredients
To create the perfect chewy granola bars, it’s essential to understand the role of each ingredient in the recipe. Let’s take a closer look at the components that make these bars not only delicious but also nutritious.
Haferflocken (Oats)
Oats are the foundation of our granola bars. They are renowned for their numerous health benefits, including being a great source of fiber, protein, and essential vitamins and minerals. Oats contain beta-glucans, a type of soluble fiber that helps to lower cholesterol levels and stabilize blood sugar. They also provide lasting energy, making them an ideal ingredient for a snack that keeps you feeling full and satisfied. In our recipe, oats provide the chewy texture and act as a binding agent for the other ingredients.
Erdnussbutter (Peanut Butter)
Peanut butter is not just a delicious spread; it’s also packed with nutrients. It’s rich in healthy fats, protein, and several vitamins and minerals, such as vitamin E, magnesium, and potassium. When choosing peanut butter for this recipe, you can opt for creamy or crunchy varieties based on your preference. Natural peanut butter without added sugars or oils is recommended to keep the bars healthier. The creaminess of peanut butter adds a rich flavor and helps bind the ingredients together, resulting in a satisfying chewy texture.
Honig oder Agavensirup (Honey or Agave Syrup)
In our granola bar recipe, you have the option to use either honey or agave syrup as a sweetener. Both offer a natural sweetness but differ in their composition and health effects. Honey is a natural sweetener with antimicrobial properties and antioxidants, making it a great choice for boosting your immune system. It is slightly thicker than agave syrup, imparting a lovely flavor to the bars. On the other hand, agave syrup is lower on the glycemic index, which means it won’t spike your blood sugar as much as honey might. Choosing between the two will depend on your taste preferences and dietary needs.
Brauner Zucker (Brown Sugar)
While brown sugar is an optional ingredient in this recipe, it can enhance both the flavor and texture of your granola bars. Brown sugar contains molasses, giving it a unique flavor profile that complements the peanut butter and oats beautifully. Additionally, it contributes to the chewy texture by adding moisture to the mixture. If you prefer less sweetness or are looking to reduce sugar intake, feel free to omit this ingredient, as the honey or agave syrup will suffice.
Gemischte Nüsse (Mixed Nuts)
Adding mixed nuts to your granola bars not only boosts their nutritional profile but also enhances the overall flavor and texture. Nuts are a great source of healthy fats, protein, and essential nutrients like vitamin E and magnesium. You can choose from a variety of nuts such as almonds, cashews, and walnuts, depending on your preference. Chopped nuts add a delightful crunch that contrasts with the chewy oats and peanut butter, creating a satisfying snack.
Trockenfrüchte (Dried Fruits)
Dried fruits such as cranberries, raisins, or apricots bring natural sweetness and a chewy texture to the granola bars. They are also packed with vitamins, minerals, and antioxidants. When selecting dried fruits, be mindful of added sugars; choosing unsweetened varieties will keep your bars healthier. The vibrant colors of dried fruits not only enhance the visual appeal of your granola bars but also contribute to a burst of flavor in every bite.
Vanilleextrakt (Vanilla Extract)
Vanilla extract is a simple yet effective ingredient that can elevate the flavor of your granola bars. It adds a warm, sweet aroma and depth of flavor that complements the peanut butter and oats beautifully. Using pure vanilla extract will give you the best results, but artificial vanilla flavoring can work in a pinch. A teaspoon is all you need to infuse your bars with that delightful vanilla essence.
Salz (Salt)
Although it may seem counterintuitive to add salt to a sweet recipe, a pinch of salt is crucial for balancing flavors. It enhances the sweetness of the granola bars and brings out the rich taste of the peanut butter and other ingredients. Salt also helps to round out the flavors, making your bars taste even more delicious. Just a small amount will do the trick, ensuring your bars are perfectly balanced.
Preparation Steps Explained
Now that we’ve covered the ingredients, let’s dive into the preparation steps for making these easy microwave chewy peanut butter granola bars. This recipe is designed to be straightforward, making it accessible for cooks of all experience levels.
Mixing the Base Ingredients in the Microwave
The first step in creating your granola bars begins with the microwave. In a large, microwave-safe bowl, combine the peanut butter, honey (or agave syrup), and brown sugar if you’re using it. The microwave is an excellent tool for this step, as it allows you to melt the ingredients together quickly without the need for a stovetop. Heat the mixture on high for 30 seconds, then stir it well. If the ingredients are not fully combined or still too thick, return the bowl to the microwave for another 30 seconds. Your goal is to achieve a smooth, slightly liquid consistency that will allow for easy mixing with the dry ingredients.
Incorporating the Dry Ingredients
Once your base mixture is smooth, it’s time to add the dry ingredients. Pour in the oats, chopped mixed nuts, and dried fruits. This is where you can get creative and customize your granola bars based on your personal preferences. Stir everything together thoroughly, ensuring that the dry ingredients are evenly coated with the peanut butter mixture. This step is crucial for achieving that chewy texture, so take your time to mix until everything is well combined.
Preparing the Baking Dish
For the next step, you’ll need a rectangular baking dish, approximately 20 x 30 cm in size. Line the bottom and sides of the dish with parchment paper, leaving some overhang on the sides. This will make it easier to lift the granola bars out of the dish once they are set. Once lined, transfer the granola mixture into the prepared dish. Use a spoon or spatula to spread the mixture evenly across the bottom of the dish, then press it down firmly. The more compact the mixture is, the better the bars will hold together once cooled.
Alternative Cooling Methods
After you’ve pressed the mixture into the baking dish, it’s time to let it cool and set. You have two options here: refrigerate the dish for about 1-2 hours or place it in the freezer for about 10 minutes. Refrigeration allows the bars to set slowly, resulting in a chewy texture, while freezing will speed up the process. If you’re in a hurry, the freezer method is a great time-saver, but be cautious not to leave them in for too long, as this can affect the texture.
With these preparation steps laid out, you’re well on your way to enjoying your homemade chewy peanut butter granola bars. Stay tuned for the next part of this article, where we’ll cover additional tips for achieving the best results and answer some common questions about this delightful snack!
 Easiest Microwave Chewy Peanut Butter Granola Bars that can be prepared in just a few minutes using the microwave.” />
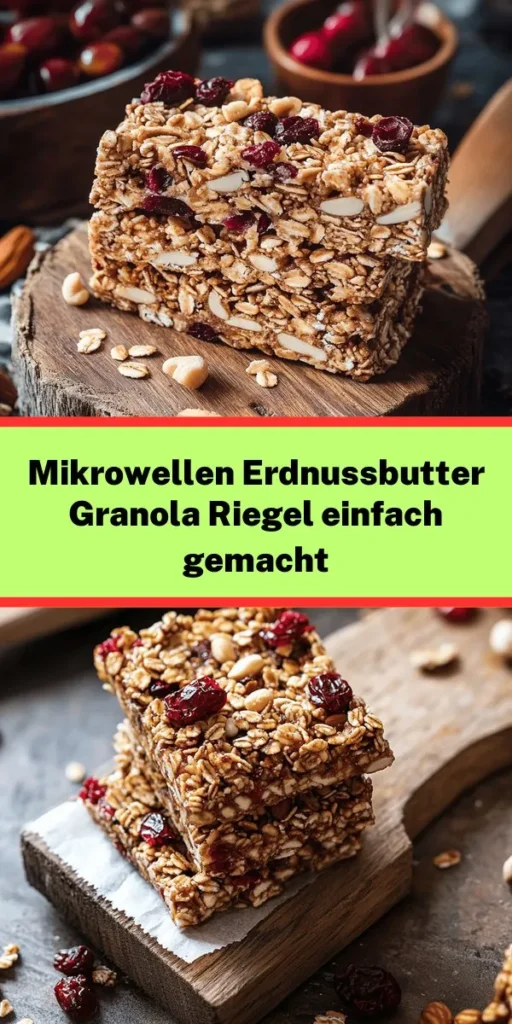
Easiest Microwave Chewy Peanut Butter Granola Bars
Cooking Time and Portioning
Die Zubereitung dieser köstlichen Erdnussbutter-Granola-Riegel dauert insgesamt etwa 2 Stunden, wobei die aktive Vorbereitungszeit lediglich 10 Minuten in Anspruch nimmt. Diese kurze Zeit macht das Rezept besonders ansprechend für alle, die ein schnelles und dennoch nahrhaftes Snack-Rezept suchen.
Warum das Warten für die richtige Textur entscheidend ist
Das Abkühlen der Granola-Riegel im Kühlschrank oder Gefrierschrank ist ein wesentlicher Schritt, um die optimale Konsistenz zu erreichen. Während dieser Zeit festigen sich die Zutaten und verbinden sich, was zu einem perfekten, chewy Biss führt. Wenn die Mischung vorzeitig aus der Form genommen wird, können die Riegel brüchig und schwer zu schneiden sein. Ein gut gekühlter Riegel hat die ideale Struktur, um nicht nur zusammenzuhalten, sondern auch leicht zu kauen zu sein.
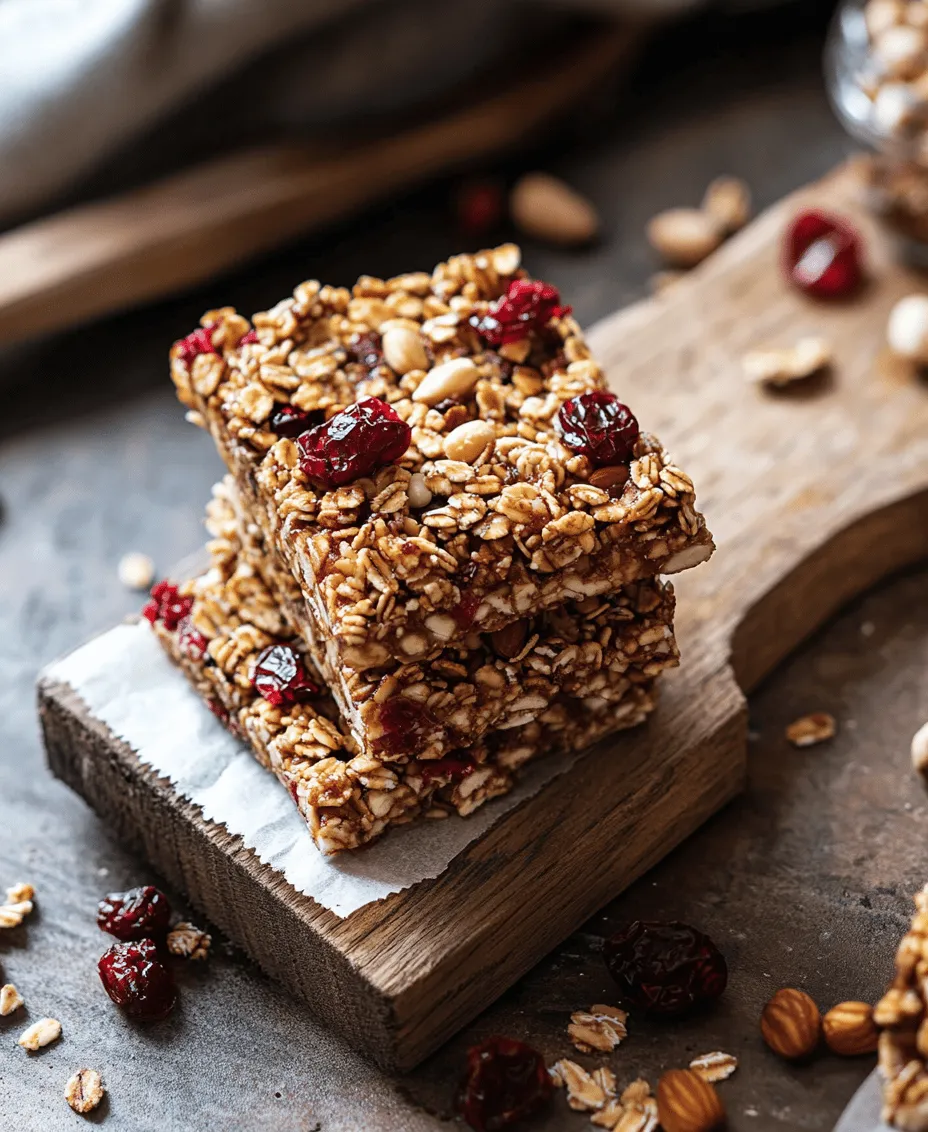
Vorschläge für Portionsgrößen und einheitliches Schneiden
Für die Portionierung dieser Granola-Riegel empfehlen wir, die Mischung in 12 bis 16 gleichmäßige Riegel zu schneiden. Um sicherzustellen, dass alle Riegel die gleiche Größe haben, verwenden Sie ein scharfes Messer und schneiden Sie die Mischung zuerst in der Länge und dann in der Breite. Eine gleichmäßige Größenteilung sorgt nicht nur für ein ansprechendes Aussehen, sondern auch für eine konsistente Nährstoffaufnahme pro Portion.
Nutritional Information
Die Nährwertangaben dieser Erdnussbutter-Granola-Riegel sind beeindruckend und machen sie zu einer hervorragenden Snack-Option. Hier ist eine detaillierte Übersicht über die Nährstoffe pro Riegel (basierend auf 16 Riegeln):
– Kalorien: ca. 170 kcal
– Kohlenhydrate: 22 g
– Eiweiß: 5 g
– Fette: 7 g
– Ballaststoffe: 2 g
– Zucker: 6 g
Diskussion der Gesundheitsvorteile
Granola-Riegel sind nicht nur ein praktischer Snack, sondern auch eine wertvolle Ergänzung zu einer ausgewogenen Ernährung. Die Kombination aus Haferflocken, Nüssen und Trockenfrüchten bietet eine gute Quelle für komplexe Kohlenhydrate, gesunde Fette und Proteine. Haferflocken sind reich an Ballaststoffen, die zur Verdauungsgesundheit beitragen, während Erdnussbutter eine hervorragende Quelle für gesunde Fette ist, die das Herz schützen können. Trockenfrüchte fügen natürliche Süße hinzu und liefern Antioxidantien, die das Immunsystem unterstützen.
Storing Your Granola Bars
Die richtige Lagerung Ihrer Granola-Riegel ist entscheidend, um ihre Frische und ihren Geschmack zu bewahren. Hier sind einige bewährte Praktiken:
Aufbewahrung in einem luftdichten Behälter
Bewahren Sie die Granola-Riegel in einem luftdichten Behälter auf, um sie vor Feuchtigkeit und Luft zu schützen. Diese Lagerung verhindert das Austrocknen und hält die Riegel weich und chewy. Sie können auch Wachspapier zwischen die Riegel legen, damit sie nicht aneinander kleben.
Haltbarkeit und Anzeichen von Verderb
Die Granola-Riegel sind bei richtiger Lagerung bis zu zwei Wochen haltbar. Achten Sie auf Anzeichen von Verderb, wie einen unangenehmen Geruch oder Veränderungen in der Textur. Wenn die Riegel zu hart oder brüchig werden, sollten sie entsorgt werden.
Tipps zum Einfrieren von Granola-Riegeln
Für eine längere Haltbarkeit können Sie die Granola-Riegel auch einfrieren. Wickeln Sie jeden Riegel in Frischhaltefolie und legen Sie sie dann in einen gefrierfesten Behälter. So sind sie bis zu drei Monate haltbar. Zum Auftauen lassen Sie die Riegel einfach bei Raumtemperatur stehen oder erwärmen Sie sie kurz in der Mikrowelle.
Variations and Customization
Einer der besten Aspekte dieser Erdnussbutter-Granola-Riegel ist die Möglichkeit zur Anpassung. Hier sind einige Vorschläge für Variationen und Ersatzstoffe:
Nussfreie Alternativen für Allergiker
Wenn Sie Allergien gegen Nüsse haben, können Sie die Erdnussbutter durch sonnenblumenbutter oder eine andere nussfreie Butter ersetzen. Diese Optionen bieten ähnliche Texturen und Geschmäcker, ohne die Allergene.
Vegane Optionen
Für eine vegane Variante können Sie den Honig einfach durch Agavensirup oder ein anderes pflanzliches Süßungsmittel ersetzen. Diese Substitution sorgt dafür, dass der Riegel weiterhin süß und köstlich bleibt.
Geschmacksvariationen
Experimentieren Sie mit verschiedenen Nuss- und Trockenfruchtkombinationen, um Ihren persönlichen Geschmack zu treffen. Zum Beispiel können Sie Mandeln, Cashews oder eine Mischung aus verschiedenen Trockenfrüchten wie Aprikosen, Datteln oder Feigen verwenden. Auch das Hinzufügen von Schokoladenstückchen kann den Riegeln eine süße Note verleihen, die besonders beliebt bei Kindern ist.
Conclusion
Zusammenfassend lässt sich sagen, dass die Zubereitung dieser einfachen Mikrowellen-Erdnussbutter-Granola-Riegel nicht nur schnell und unkompliziert ist, sondern auch eine gesunde und schmackhafte Snack-Option bietet. Die Möglichkeit, sie nach eigenen Vorlieben anzupassen, macht sie zu einer idealen Wahl für die ganze Familie.
Wir ermutigen Sie, mit verschiedenen Zutaten zu experimentieren und Ihre eigenen Variationen zu kreieren. Diese Granola-Riegel sind nicht nur ein Genuss, sondern unterstützen auch gesunde Snacking-Gewohnheiten. Teilen Sie Ihre Erfahrungen und Kreationen mit Freunden und Familie und genießen Sie jeden Bissen dieser köstlichen, selbstgemachten Riegel!
